How to extend the life of the welding burner?
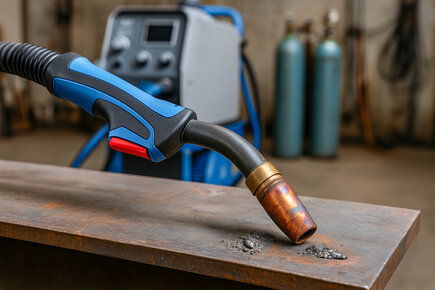
The welding torch is one of the most stressed components of the entire welding system. It faces high temperatures, molten metal spatter, abrasive wire friction, and shielding gas pressure on a daily basis. Therefore, its regular maintenance is not “just” a recommendation, but a necessity...
The welding torch is one of the most heavily stressed parts of the entire welding system. It faces high temperatures, molten metal spatter, abrasive wire friction, and shielding gas pressure every day. Therefore, its regular maintenance is not “just” a recommendation, but a necessity that extends the device’s service life, reduces the consumption of consumables, and ultimately saves time and money.
Regular cleaning of nozzles and tips
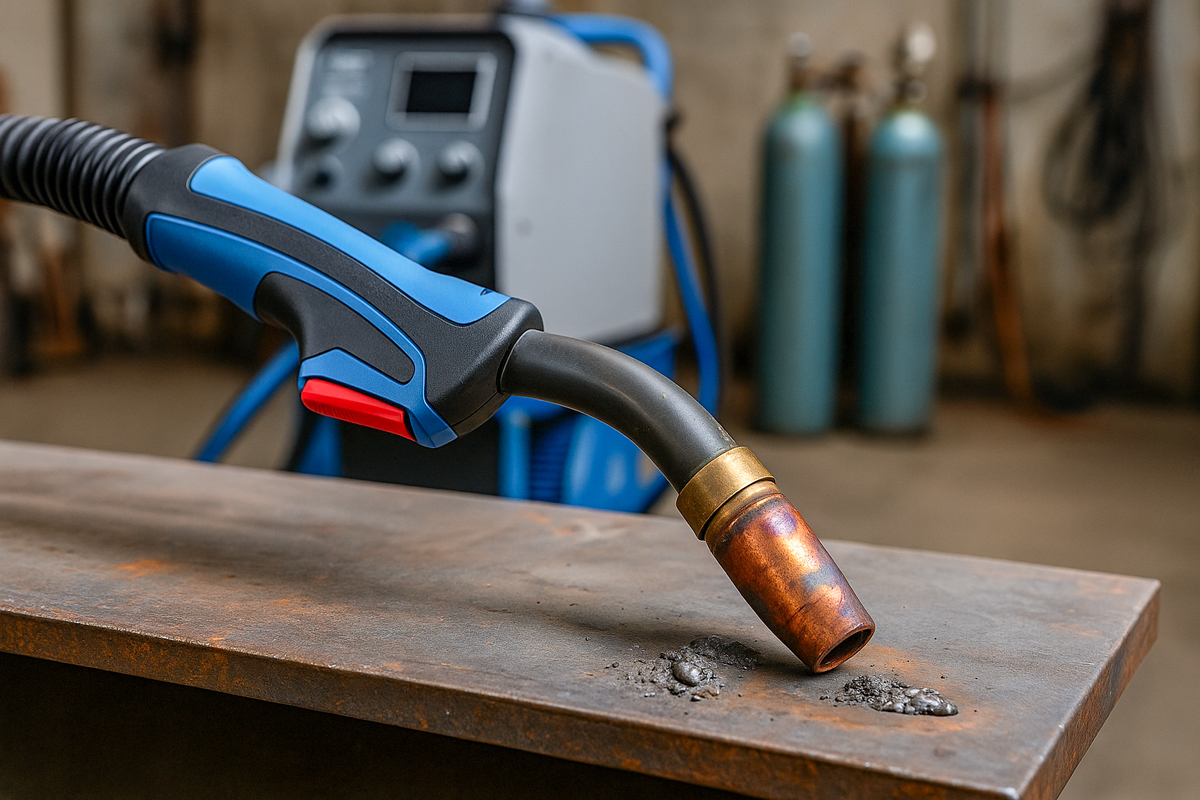
Daily spatter removal
- At the end of each shift, clean the inside and outside of the gas nozzle with a brass brush and remove built-up metal spatter.
- Use anti-spatter spray or paste before starting work – it creates a protective film that reduces spatter adhesion.
Contact tips
- Check the bore once per shift. If it is deformed or oval, the tip won’t hold the wire in the arc center – it’s time to replace it.
- For aluminum and stainless wire, use CuCrZr tips – they dissipate heat better and last longer.
Diffuser (gas distributor)
- A clogged diffuser causes turbulent gas flow → porosity in the weld. Unscrew it and clean with a brush or soak in a mild degreaser.
Inspection and Replacement of Worn Parts
| Torch Components | Average Replacement Interval* | Wear Indicators |
| Contact Tip | 5–10 kg of wire | Unstable arc, wire "jerks" |
| Gas Nozzle | 2–4 weeks | Uneven shielding, visible deformation |
| Diffuser / Insulator | 2–3 months | Leakage, worn thread |
| Liner (wire guide) | 150–200 kg of steel wire (Al earlier) | Increased resistance, wire pulsation |
*Replacement intervals are indicative only – actual intervals depend on current, material type, and cleanliness of the work environment.
💡Tip: Create a simple "maintenance log" – record the date and reason for each replacement. It helps you plan consumables purchases and identify operational issues (e.g., frequent tip burnout may indicate overheating or poor gas coverage).
Proper Storage and Damage Prevention
Dry, Clean Environment
- Moisture accelerates corrosion of brass threads and steel liners. Store torches and spare parts in a closed cabinet with silica gel or a dehumidifier.
Hanging Holders
- Never leave the torch on the ground or on a bench where the cable can get bent or hit. Wall hooks or dedicated “home position” holders near the welder significantly extend cable life.
Protective Covers and Silicone Boots
- When grinding near the welding area, use a heat-insulating nozzle cover to block sparks and debris. On robotic arms, durable silicone sleeves have proven effective at protecting the entire torch bundle.
How to Prevent Torch Overheating?
Respect the Duty Cycle
- Each torch has a manufacturer-specified duty cycle (e.g. 60% @ 300 A). After 6 minutes of welding, allow a 4-minute cooldown to prevent degradation of insulation and O-rings.
Proper Coolant Flow
- For water-cooled systems, regularly check the coolant level and cleanliness. Oil stains or metal shavings indicate the need to flush the system.
- For air-cooled models, keep the source fan clean and ensure sufficient airflow around the welding torch.
Selecting the Torch According to Current
- Do not run the current at full capacity. If you regularly weld at 280 A, choose a torch rated for at least 300–350 A to ensure headroom and avoid component burnout.
Anti-silicone Sprays with Thermal Barrier
- Modern ceramic coatings reflect radiant heat back into the nozzle and reduce surface temperature by up to 80 °C, greatly protecting the neck insulation of the torch.
Conclusion
Regular and systematic maintenance of the welding torch means:
- Fewer downtimes and part replacements – the welder spends more time working, not repairing.
- Higher weld quality – clean nozzles and precise tips ensure a stable arc and perfect gas shielding.
- Longer equipment lifespan – a properly stored and cooled torch will serve for years.
By introducing simple cleaning, inspection, and timely replacement routines, your torch will reward you with reliable operation and reduced operating costs.